
This article explains how to enroll a Nova device in a Tailscale network, allowing seamless and secure remote access. It assumes that you have an account on the Tailscale website, and that you are familiar with Tailscale concepts such as access controls. Note that your Nova device will need to be able to reach the Internet in order to see the Tailscale control plane servers and exchange data with other nodes.
Adding the Device to Tailscale
- On the Tailscale portal, navigate to the Management Console.
- Press the Add Device button and select Linux Server as the device type.
- Configure the various options per your requirements and press Generate Install Script.
- You will see a box similar to that shown below:

(Portion of key redacted for security.)
- Select the portion of the text starting with
tskey-authand copy it on to the clipboard. - On R4-0063 et seq, you can copy the entire string and Nova will find the relevant part.
Adding the Tunnel to Nova
- Open the Network configuration editor by clicking on the pen icon next to the Networking subsystem on the home page, or by selecting the Networking option from the Configuration menu.
- Navigate to the Tunnels section, and either press the Plus button in the toolbar or right-click and select Add. A dialog box similar to that shown below will be displayed:
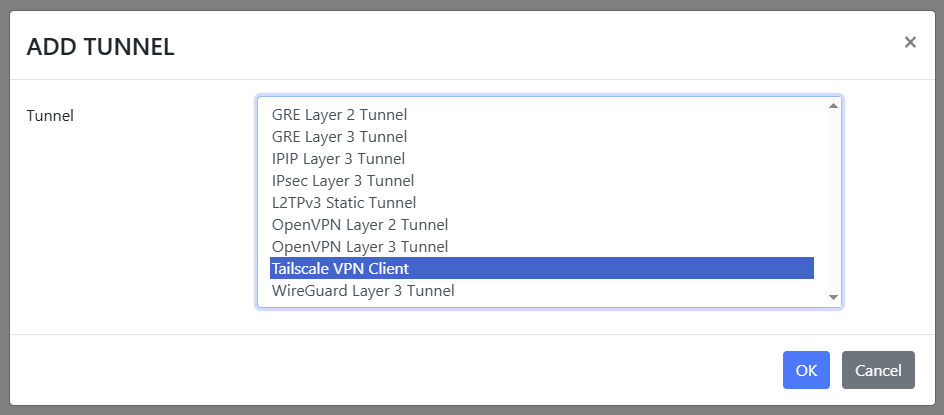
- Select Tailscale VPN Client from the dialog box.
- Paste the key from the first stage into Authorization Code field.
- Save and commit your configuration.
- The home page will now show the Tailscale interface, its status, and its allocated IP.
