
This article explains how to configure Nova to talk to a Allen-Bradley PLC using the Ethernet/IP tag client. This protocol driver allows you to transfer tags to and from a Rockwell PLC, and includes support for automatically obtaining the tag list from the device such that Nova can provide you with a list of available data items. Numeric, string and UDT data types may be transferred.
Adding the Protocol
- Click on the pen icon next to the Communications section on the homepage.
- Be sure to enable clipboard access if you are prompted by your browser.
- Navigate to the Network Protocols section and click the Plus icon in the toolbar.
- Select the AB EIP Tag Client from the list and press OK.
Adding the Device
- Navigate to the Devices section beneath the protocol and click the Plus icon in the toolbar.
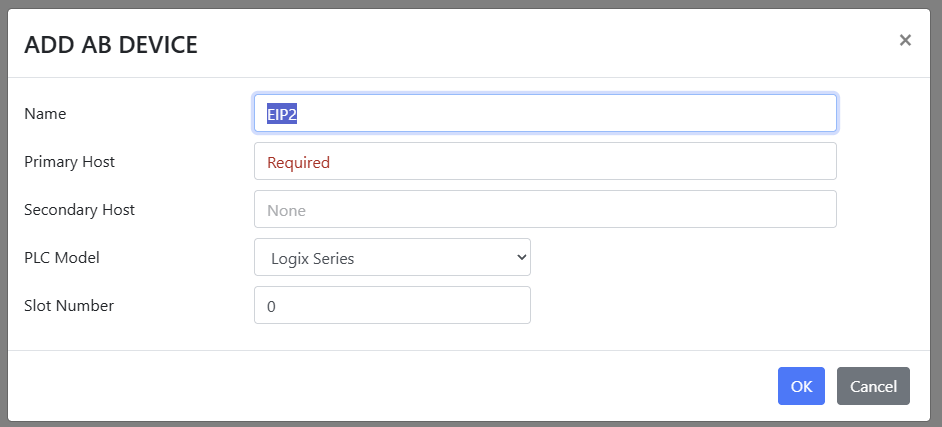
- Enter the IP address or host name of your PLC in the Primary Host field.
- Configure the other fields as appropriate and press OK.
- Press F9 to save and commit the changes.
Obtaining the Tag List
- Return to the home page and observe the EIP protocol under Applications.

- If the status is not Good, check your IP address and IP connectivity.
- Click the Status icon (the indented list) to show the status information.
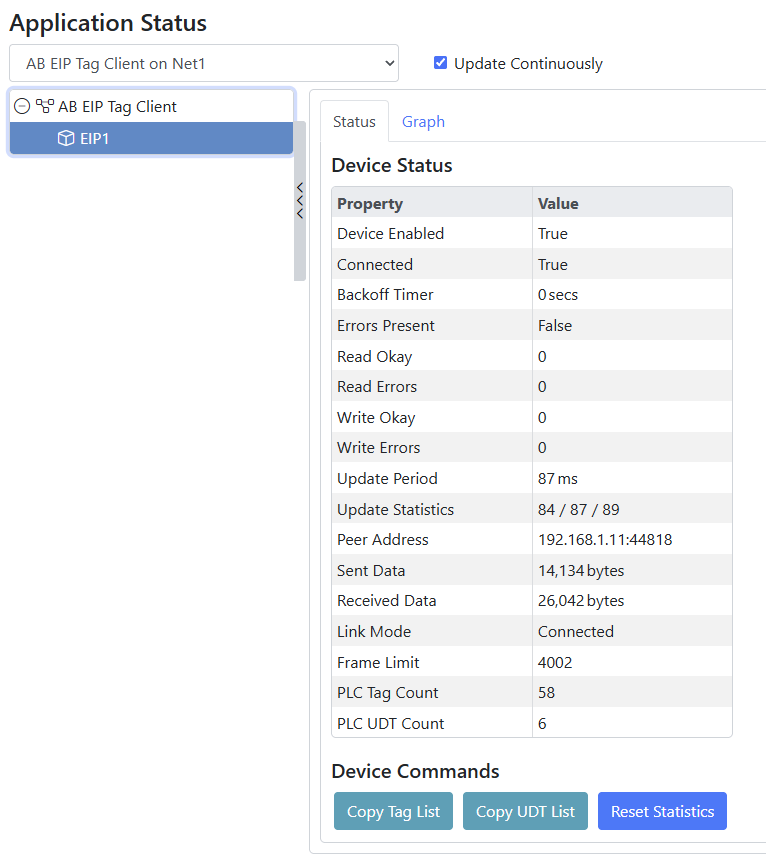
- Observe the tag count shown in the status information.
- Click the Copy Tag List button to place the tag list on the clipboard.
- Return to the configuration and select the EIP device.
- Click the Paste icon on the Tag File field to insert the tag information.
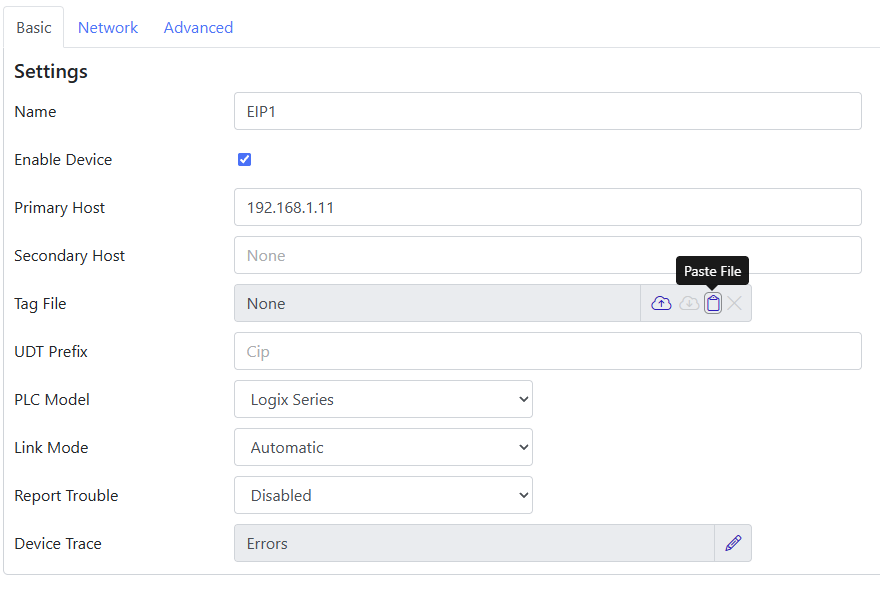
- If the icon is not enabled, check you have clipboard access enabled.
Adding Groups and Parameters
- Navigate to the Groups item under the EIP1 device and click the Plus icon on the toolbar.
- Select a scalar group and press OK.
- In the right-hand pane, select the Parameters tab.
- Click the Plus icon within that tab to add a new parameter.
- Start type a tag name into the Address field and a list of available tags will be displayed.

- Select the required tag and the parameter will be mapped.
- Alternatively, click the Wizard icon and select Add Selected Tags.

- Select the required tags from the list, using the filter as required.
- Parameters will be added for each of the selected data items.
- Press F9 to save and commit the changes.
- Return to the status page and select the Data tab under the group to view the data.
- Note that complex tags such as UDTs or arrays will be read as JSON object.
